Customizing Your First Phoenix Page
Choosing the URL
In the last chapter we saw how changing the URL could effect what’s shown in the page. However, we were stuck editing the URL by hand when using the site- something that’s rarely done. In this chapter we’ll learn about the link helper- and then about how to use arrays and each to automatically generate a bunch of links.
Links
Previously, we’d used a link with a bare “anchor” tag as follows:
<a href="/"><div class="btn btn-primary">Go back to main page</div></a>We can add more of these to link to various versions of this page:
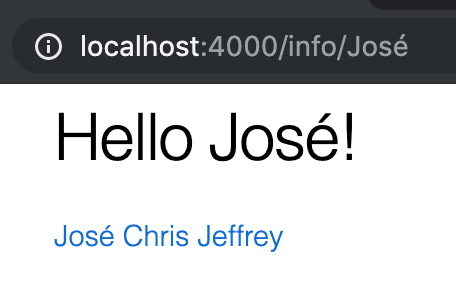
<a href="/info/José">José</a>
<a href="/info/Chris">Chris</a>
<a href="/info/Jeffrey">Jeffrey</a>
<hr>
At this point, you have a list of 3 names, clicking any of which takes you to a different version of the info page.
This is pretty good right now, but if we had more names we wanted to include, a dynamic list of names, or a more complex definition for each link, then things would get unwieldy fast. That’s why we’re introducing the for helper.
The for helper
The for helper is a way of iterating over data within a template, letting you create more dynamic templates.
Here’s a simple version:
<%= for name <- ["José", "Chris", "Jeffrey"] do %>
  <%= name %>
<% end %>
First, notice the similarities to the if helper.
<%= if (xs) do %>
  Stuff
<% end %>

<%= for (x <- xs) do %>
  Stuff
<% end %>
So they start off with the equals version of the Embedded Elixir tag (<%= %>), then the name of the helper (if or for), then there’s some stuff in parentheses (the parentheses were added to help you see the similarities- we don’t actually recommend using those in your application, as they simply clutter things up), then do. That starts off a block of html which is used by the helper (displayed 0 or 1 times by the if helper, depending on the condition, and displayed n times by the for helper, where n is the number of items in the array), which is closed by <% end %>.
The interesting differentiator is in what comes between the helper name and do. Let’s look at our for helper again.
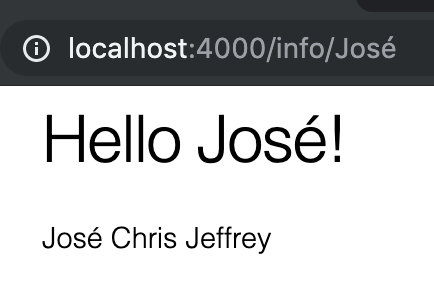
<%= for name <- ["José", "Chris", "Jeffrey"] do %>
  <%= name %>
<% end %>
On the right side of the backwards arrow (<-) we have an array: ["José", "Chris", "Jeffrey"] Then on the left side of the backwards arrow we see the variable (name) that the items in the array will be assigned to. Within the block we can use that variable (<%= name %>).
And with that we’ll be looping over all 3 names and displaying them dynamically.
You’ll notice that there are no longer links. Let’s fix that.
<%= for name <- ["José", "Chris", "Jeffrey"] do %>
  <a href="/info/<%= name %>"><%= name %></a>
<% end %>
Here we’ve brought back our anchor tag, but we’ve dynamically inserted the name variable inside of it; once for the url and once for the displayed text.
Benefit: easily change how data is displayed
We’ll see more benefits to this arrangement once we start pulling data from databases and external sources, but we can already see one benefit: changing the way the data is displayed is much easier. Let’s put them in a list instead of displayed horizontally.
<ul>
  <%= for name <- ["José", "Chris", "Jeffrey"] do %>
    <li><a href="/info/<%= name %>"><%= name %></a></li>
  <% end %>
</ul>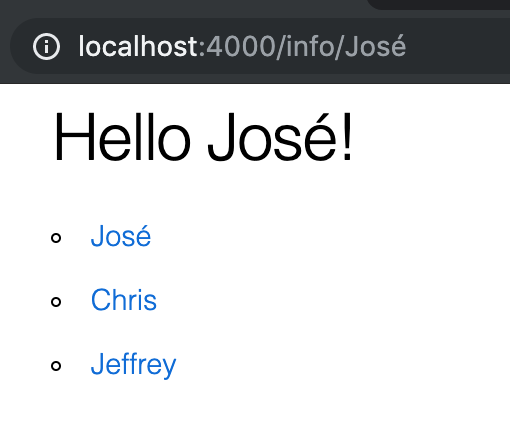
We just had to add the ul tag around the for helper, and then the li tag around the anchor tag inside the block. Without the for helper, we would have to add the li tag around each anchor tag individually- a bad situation if we had lots of items in the list or we wanted to do something more complex than just adding one tag.
From the Controller
We don’t have to define the list within the template. In fact, most of the time the data in the template will be fed into it from the controller. Let’s do that with our list of names.
def info(conn, params) do
  names = ["José", "Chris", "Jeffrey"]
  render conn, "info.html", name: params["name"], names: names
end
<ul>
<%= for (name <- @names) do %>
<li><a href="/info/<%= name %>"><%= name %></a></li>
<% end %>
</ul>Within the controller we’re now feeding the template two variables: name and names. They’re usable in the template as @name and @names.
Within the template we then use @names to feed the for helper.
Name Collisions
You’ll notice that name, @name, and @names are pretty similar. name comes from the for helper, and can only be used inside of it, while @name and @names come from the controller. I happen to think these are the best variable names in this particular situation, but it’s useful to keep in mind that such similar variable names could cause confusion.
The link helper
We don’t have to construct anchor tags by hand every time. Phoenix has a handy link helper.
<%= link name, to: "/info/#{name}" %>The above is equivalent to
<a href="/info/<%= name %>"><%= name %></a>So it’s a little shorter. There are other benefits to it that we’ll see later on, such as being able to choose a different HTTP function than “get”, but for now it’s just shorter and more “Phoenix-y”.
So let’s analyze each part of it.
<%= link name, to: "/info/#{name}" %>First, the structure of the helper. It doesn’t have a do at the end, so this helper is self-contained rather than having an html block and an <% end %>. We also know, because of the equals sign at the start, that it will display something. link, of course, tells us which helper we’re using.
The first argument is what will be displayed - in this case, the value in the name variable. The second argument is a Map containing one key-value pair. The key is to, and the value is the URL that we’re linking to. You’ll notice that we use Elixir-style string interpolation ("#{name}") rather than Embedded-Elixir-style string interpolation (<%= name %>). That’s because this is already inside an Elixir block (the link helper).
There are other options available within the hash: method, which changes the HTTP method used, and other keys are passed directly to the html (class, data, etc.)
It’s worth noting that there is second form of the link helper that does have a do block (for more complex link text). There’s also other ways to define the url in the to option. We’ll cover those when we need them.
Conclusion
Both the link and for helpers will be seen often throughout a typical Phoenix app. In addition to their uses as such, they’ve also served as good examples of how template helpers work in Phoenix- you can generalize based on those examples to the point where any Phoenix template you look at will be considerably less mysterious.
We’re done covering the building blocks that we can comfortably tackle in an isolated page. In the next chapter we’ll use Phoenix generators to generate some pages and finally start working with the “full” Phoenix stack, including the database.
Exercises
- Update your app to where we are. Save and commit to git.
- Use the
forhelper to dynamically display the 3 reasons we have listed for creating this app (“Track our resources”, “Learn Elixir and Phoenix”, and “Inventory Management is its own reward”). Pass them in from the controller as@reasons. - Start with your code from the chapter 2.5 exercises where you added a position variable. Then use nested
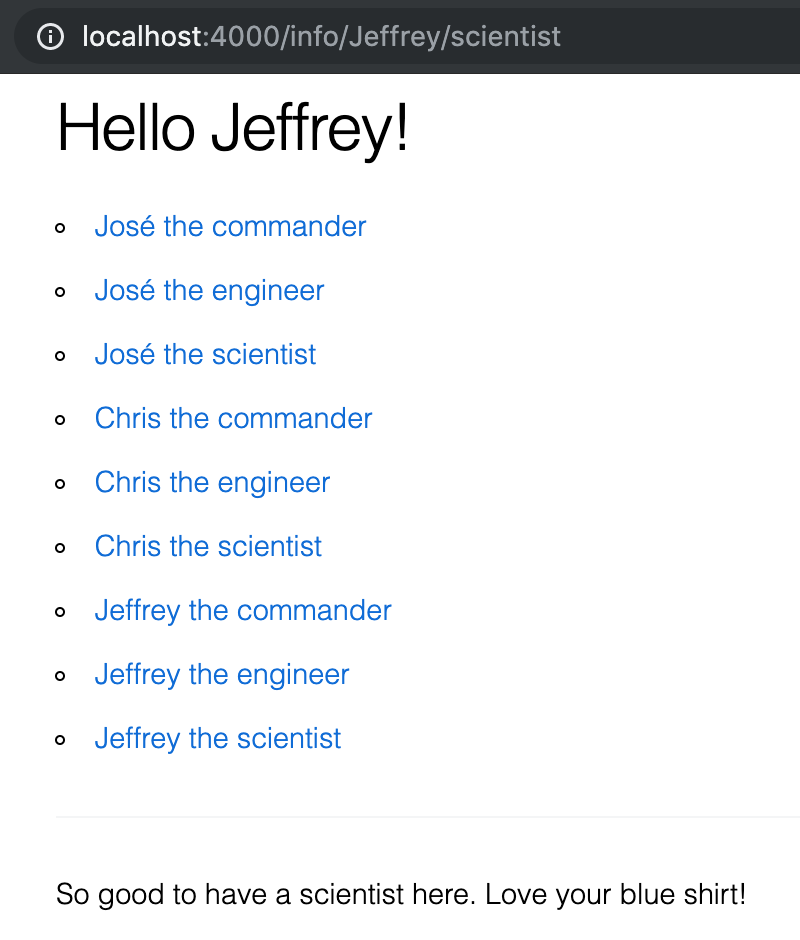
forhelpers (oneforhelper inside another) to create 3 links for each name (“Chris the commander”, “Chris the engineer”, “Chris the scientist”), with each linking to the page with the name and position shown.
Buy the Ebook