Customizing Your First Phoenix Page
Now that we understand the basics of Elixir, it’s time to install Phoenix and create our first app.
Installation
We’re going to be using Phoenix version 1.4.4 in this tutorial. We download it straight from github using Mix (for now, just copy this line. We’ll go over more about how version control and git/github work in the next chapter):
$ mix archive.install hex phx_new 1.4.4Node
We rely on Webpack to compile static assets, and Brunch relies on Node.
Go to the NodeJS site and download version 5.0 or later. The current stable release (recommended) is 10.15.3 LTS.
Postgres
Postgres is the database we’ll be using for this tutorial, although you’re free to choose another SQL database if you’re more comfortable there.
Installation guides are found on the Postgres wiki.
I personally use PostgresApp on my mac.
Your First App
Much of this section is taken from the Up and Running docs.
In general, the first few chapters in Section 2 are gluing together a bunch of Getting Started Guides, but after that we’ll get to the more exciting Original Content.
We’ll first use Mix to generate a new Phoenix app, named star_tracker:
$ mix phx.new star_trackerThis will create a bare-bones app
* creating star_tracker/config/config.exs
* creating star_tracker/config/dev.exs
....
* creating star_tracker/lib/star_tracker_web/controllers/page_controller.ex
* creating star_tracker/lib/star_tracker_web/templates/layout/app.html.eex
* creating star_tracker/lib/star_tracker_web/templates/page/index.html.eex
....
* creating star_tracker/assets/static/images/phoenix.png
* creating star_tracker/assets/static/favicon.ico
You can start looking around your file structure. We’ll take our first quick tour in chapter 2.3, and start giving detailed explanations of what everything does starting in chapters 2.4 and 2.5.
You’ll be prompted to fetch and install “dependencies”. Say Yes with Y (or hitting enter to choose Y as default).
Fetch and install dependencies? [Yn] YIt will then give you instructions for finishing installation
Fetch and install dependencies? [Yn] Y
* running mix deps.get
* running mix deps.compile
* cd assets && npm install && node node_modules/webpack/bin/webpack.js --mode development

We are all set! Go into your application by running:

    $ cd star_tracker

Then configure your database in config/dev.exs and run:

    $ mix ecto.create

Start your Phoenix app with:

    $ mix phx.server

You can also run your app inside IEx (Interactive Elixir) as:

    $ iex -S mix phx.server
We’ll follow those instructions
$ cd star_trackerThe first command Changes Directories to the newly-created folder. cd is a unix shell command, but don’t let the name scare you- “Unix” shell commands can be used on Linux, Mac, and Windows 10+ (with Bash).
Here’s some basic commands to get you started
| Command | Description | Example |
|---|---|---|
| ls | lists files and folders in directory | ls -a |
| cd | change directory | cd star_tracker |
| mkdir | create directory | mkdir new_folder |
| mv | move file | mv old_location new_location |
| cp | copy file(s) | cp old_file new_file |
| rm | remove file | rm old_file |
In Unix terminology . means “current directory”, .. means “one directory up”, and ~ means the home directory. So to move up a directory we would input cd .., and to look at the files in the home directory we would input ls ~.
There’s lots more Unix shell commands we could learn, but those should be enough to get you started. Now back to installing Phoenix!
$ mix ecto.create
  Compiling 13 files (.ex)
  Generated star_tracker app
  The database for StarTracker.Repo has already been created
Ecto is the library that Phoenix uses to interface with the database. We’ll be learning a lot more about Ecto when creating our main app.
This particular command creates the database (Postgres by default) for our app.
If you get an error, it’s probably because you either don’t have Postgres installed or don’t have Postgres running. See the instructions for whichever installation of Postgres you chose.
Finally, we run our app.
$ mix phx.server
  [info] Running StarTrackerWeb.Endpoint with cowboy 2.6.3 at 0.0.0.0:4000 (http)
  [info] Access StarTrackerWeb.Endpoint at http://localhost:4000

  Webpack is watching the files…

  Hash: 1fc94cc9b786e491ad40
  Version: webpack 4.4.0
  Time: 486ms
  Built at: 2019-5-2 09:05:06
  ......
In your web browser, visit http://localhost:4000/ (it’s the same address as http://0.0.0.0:4000). There you should see the Phoenix Welcome page.
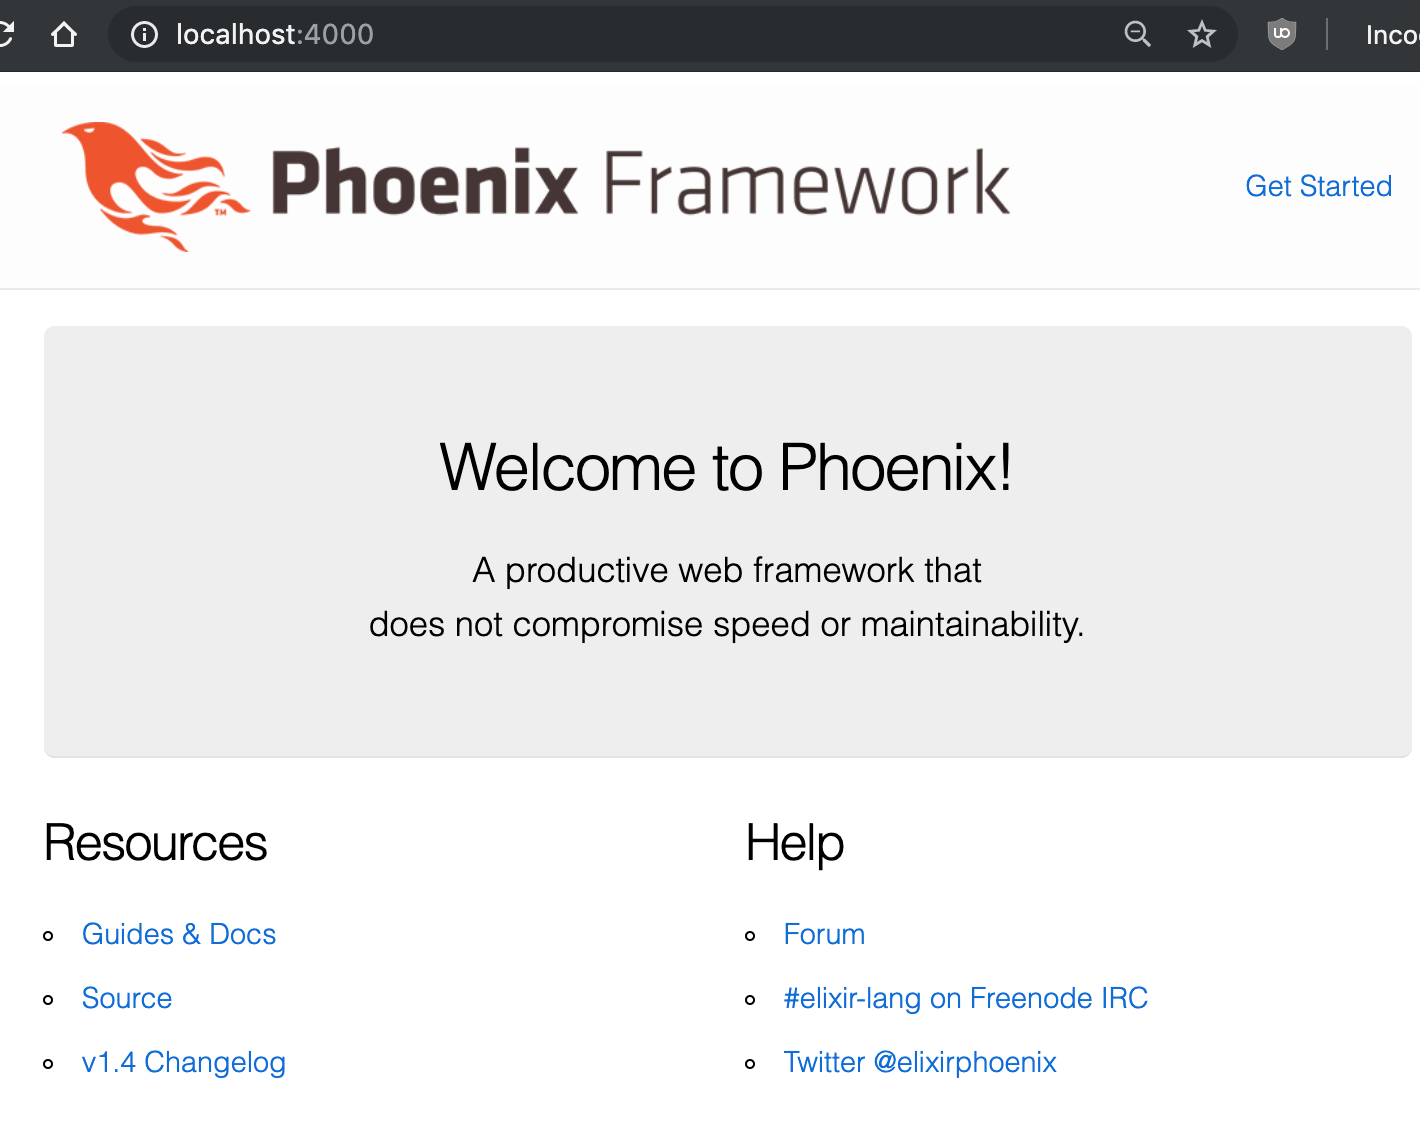
And that’s your first Phoenix app! Congratulations!
In the next chapter we’ll go over how to save your code with Git and Github, then how to deploy your site, making it publicly available on the internet.
Buy the Ebook